For detailed information, other images and documents, please select individual articles from the following table.
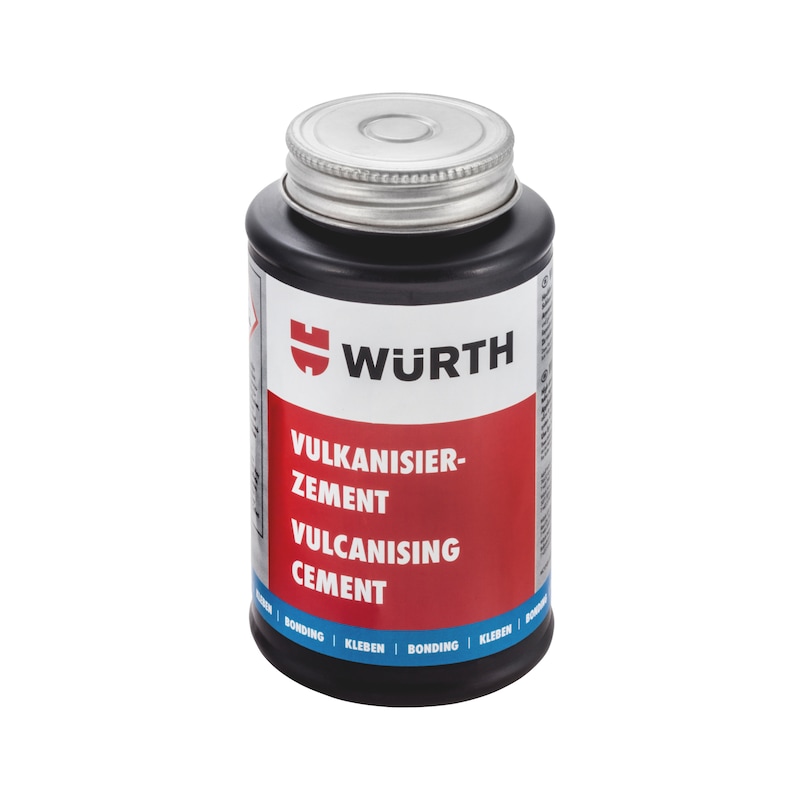
Vulcanising cement
High-strength. For self-vulcanising repair systems for tyre and hose repairs.
Register now and access more than 20,000 products
Variants
Register now and access more than 20,000 products
Excerpt from: § 36 German road traffic licensing regulations (StVZO) guidelines for assessing and repairing tyre damage to pneumatic tyres dated 8 February 2001
Combination repair kits
- Repair part, comprising hole filling and repair patch.
3. General requirements
3.1 Each tyre must be removed from the rim prior to repair work to assess the damage and perform the repairs. The exception is those tyres with damage that is clearly just external damage to the tyre...
3.4 The damaged area must be exposed and cleaned with an appropriate tool.
3.5 Damage to the tyre that was treated with emergency repair equipment cannot be repaired.
3.6 It is not permitted to insert a hose without rectifying the damage to the tyre.
4. Performing the repair work
As standard, the damaged duct is filled with raw rubber that is vulcanised using hot or warm vulcanisation. A repair patch is then positioned inside the tyre. A pre-vulcanised rubber body can be used in conjunction with a repair patch to fill the punctured hole caused by stitch damage to the running surface.
The following applies to:
Motorbike tyres
On motorbike tyres, puncture repairs are permitted for damaged areas up to a maximum of 6 mm using combination repair equipment. All tyre repairs outside of the running surface are not permitted on motorbike tyres.
Tyres on passenger cars and trailers
On running surfaces, puncture repairs are permitted for damaged areas up to a maximum of 6 mm using combination repair equipment. Rubber repairs are only permitted in the bead area if the reinforcing materials have not been affected.
C-tyres and tyres with a load-bearing capacity figure < 122 on commercial vehicles and their trailers
On running surfaces, puncture repairs are permitted for damaged areas up to a maximum of 6 mm using combination repair equipment. Rubber repairs are only permitted in the bead area if the reinforcing materials have not been affected.
Tyres with a load-bearing capacity figure ≥ 122 on commercial vehicles and their trailers
On running surfaces, puncture repairs are permitted for damaged areas up to a maximum of 10 mm using combination repair equipment. Rubber repairs are only permitted in the bead areas when the reinforcing materials (carcass or ply end) have not been affected.
The usage instructions are recommendations based on the tests we have conducted and our experience; carry out your own tests before each application. Due to the large number of applications and storage and processing conditions, we do not assume any liability for a specific application result. Insofar as our free customer service provides technical information or acts as an advisory service, no responsibility is assumed by this service except where the advice or information given falls within the scope of our specified, contractually agreed service or the advisor was acting deliberately. We guarantee consistent quality of our products. We reserve the right to make technical changes and further develop products.
Shake before use. Apply a thin layer of solution to the repair site and let it dry. Apply patches according to the application instructions of the various repair systems. Close the container tight after use.
- Remove and mark out the cutting channel.
- Measure the damaged area in order to choose the body. Drill out the cutting channel from the inside out.
- Sand without applying pressure (remove any ridges). Maximum speed: 5000 rpm.
- Remove any sanding dust with a vacuum cleaner.
- Add a drop of solution to the cutting channel. Spread the solution on the roughened surface. Let the solution dry for 5 minutes.
- Remove the protection without touching the exposed surface.
- Pull the probe out from the outside until the disc of the repair body is lying flat on the inside of the tyre.
- Roll out, starting from the centre.
- Cut off following re-installation and pumping (without pulling it).
Select RAL-colour code
!! NOTE: On-screen visualisation of the colour differs from real colour shade!!


